
File this one under “things I didn’t know I just really needed to do”.
After initially removing the wet-dog-smell Astroturf and fiber wall covering, we let our sunroom languish for over a decade as a storage room. But last year we finally had the interior finished out with tile and beadboard. To save a wee bit of money we opted to do the painting ourselves.
So when I started painting last weekend I thought “oh this will take me a day or two”. But then I got all excited and came up with a bunch of new ideas which probably quadrupled the work. This is why I never truly get anything done.
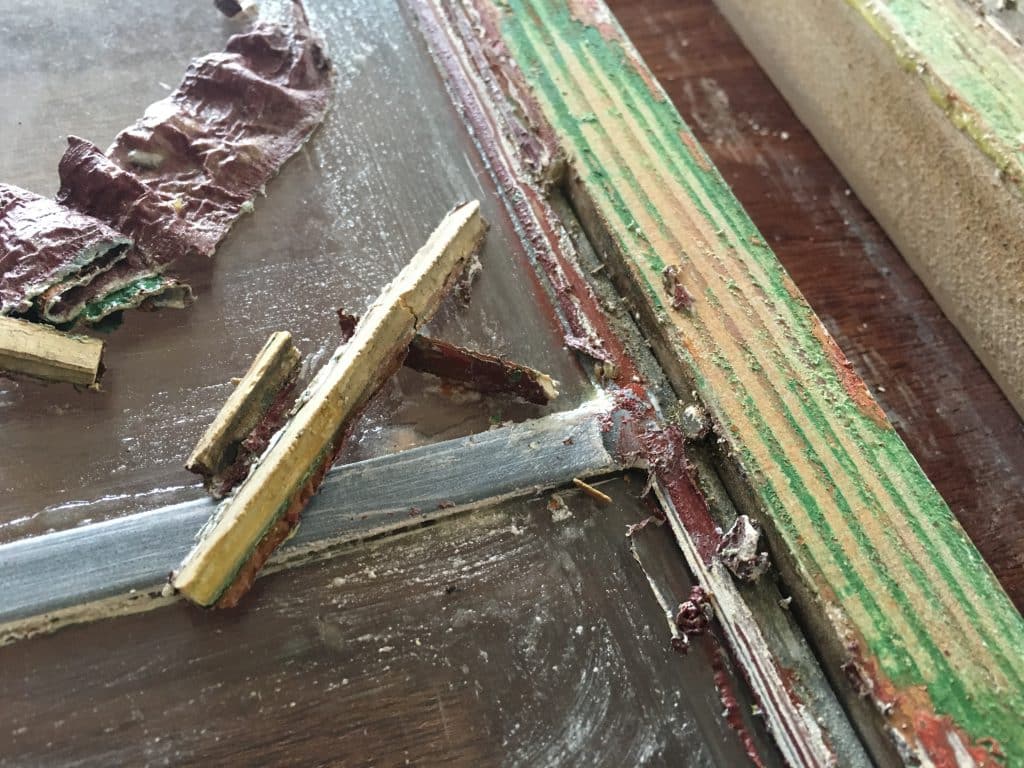
Anyhow, one of my brilliant ideas was to strip and stain the small, east-facing window. A few years back I had refinished the dining room and living room trim which was super rewarding. There was only one coat of paint on that trim – I wasn’t so lucky here. This little monster took 3 coats of stripper on each side, for a total of 6 passes. Luckily I had most of the materials I needed left over from the living/dining project which meant fewer trips to the hardware store (There are never no trips to the hardware store. Ever.)
In case you want to tackle something like this yourself, I’ve listed all the materials I used at the end of the post.
Old window.
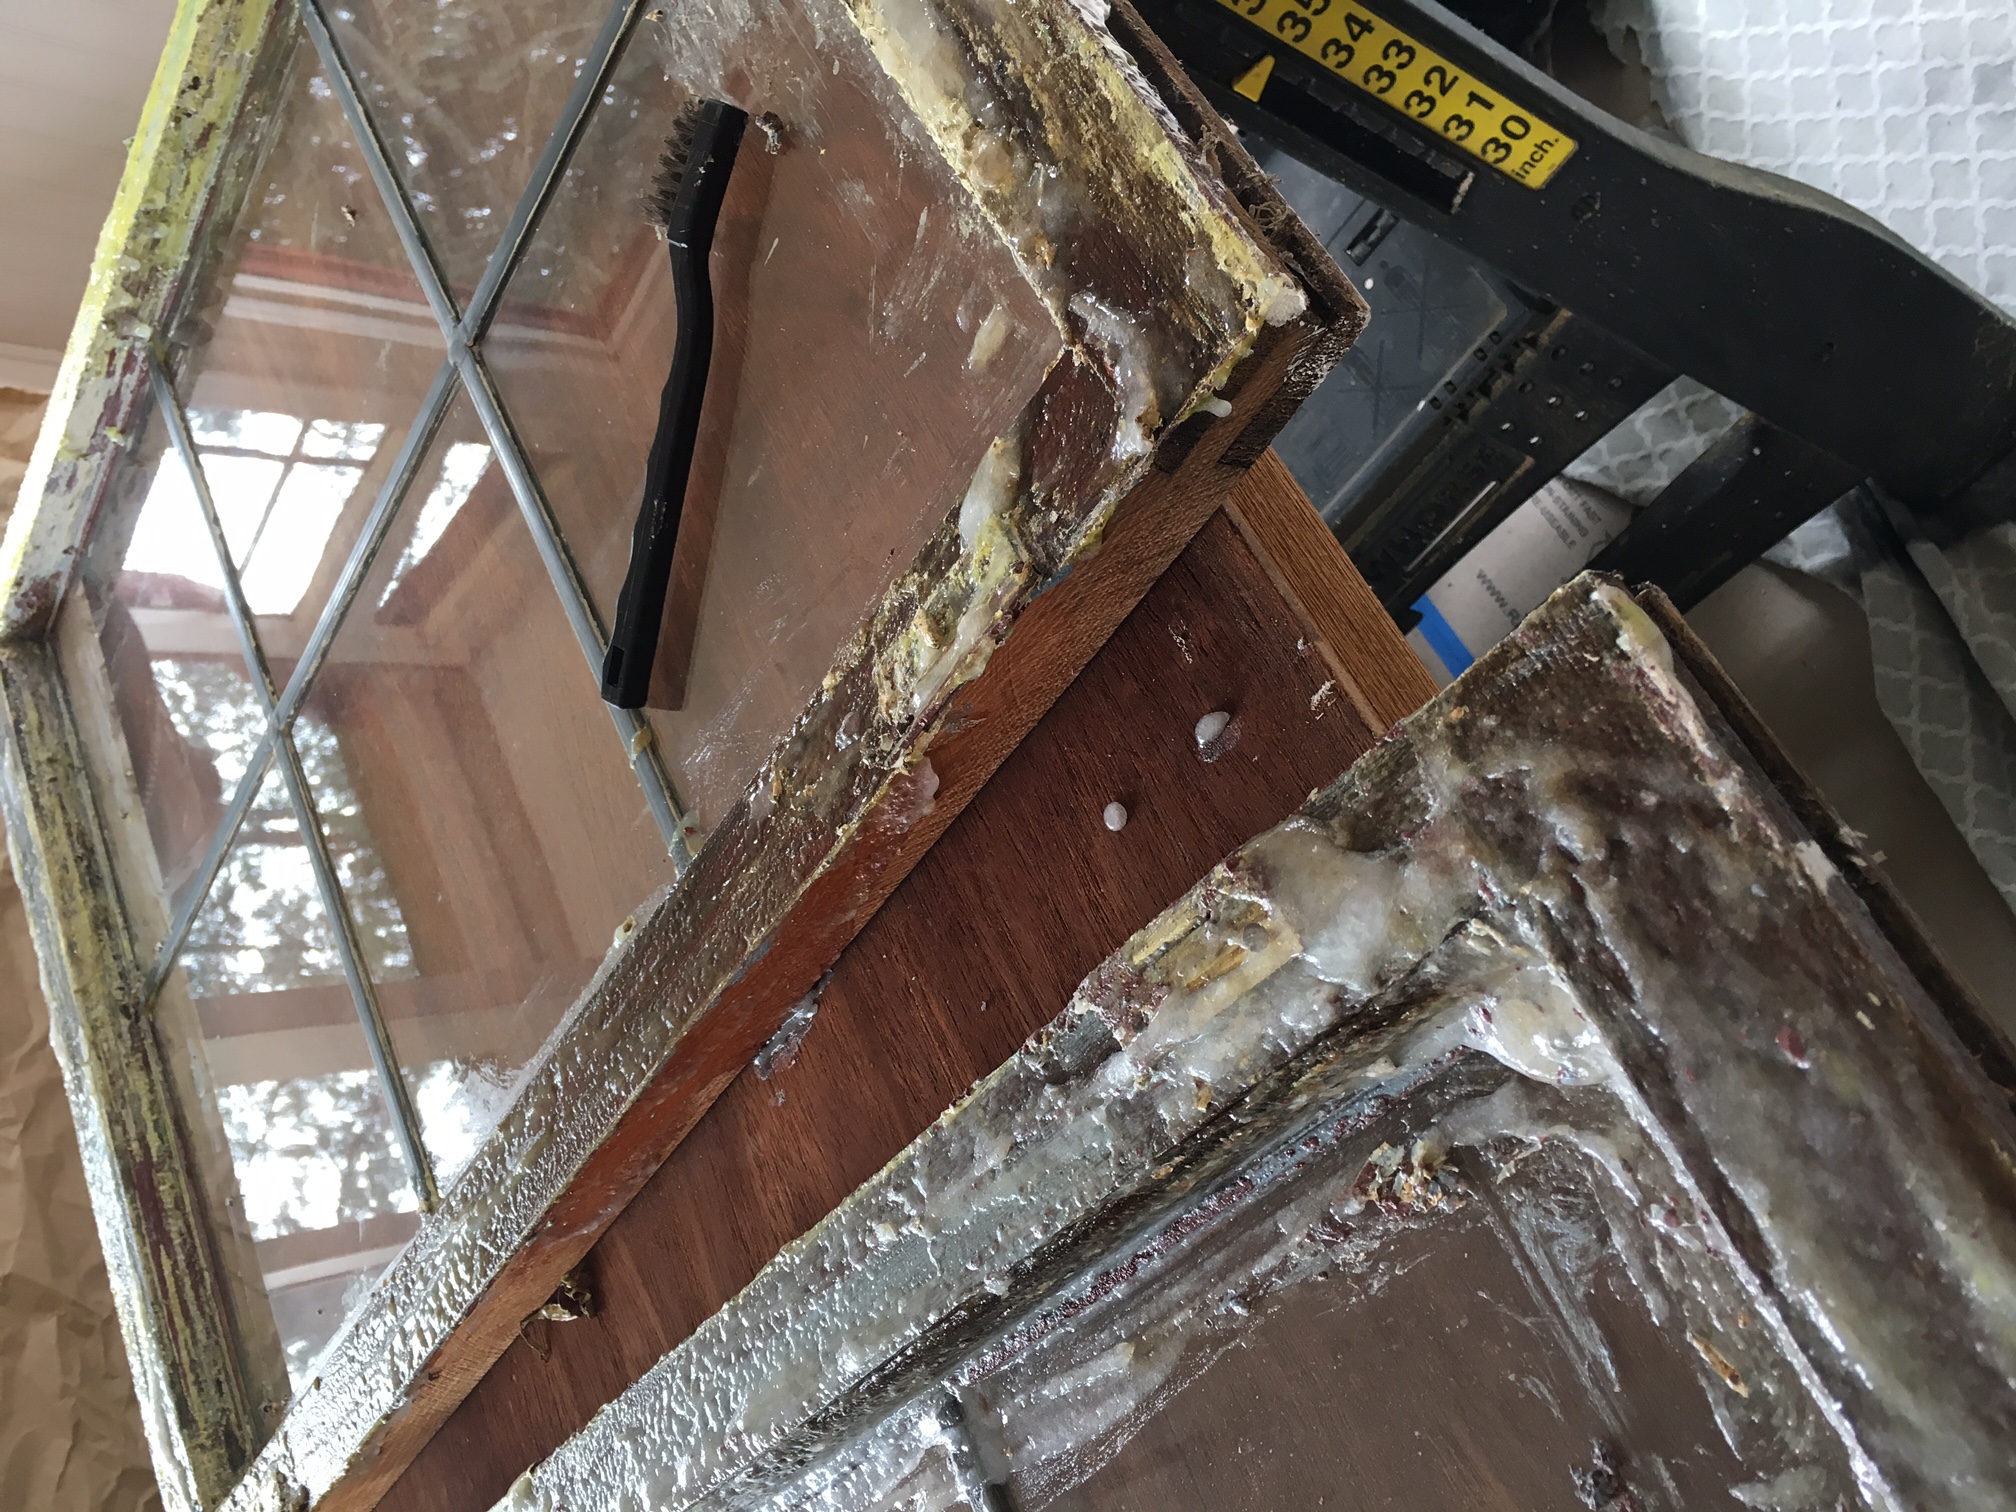
Interior side
First pass with the stripper on the interior-facing side. The amount of curdling tricked me into thinking the paint would come off in one application. Not so!
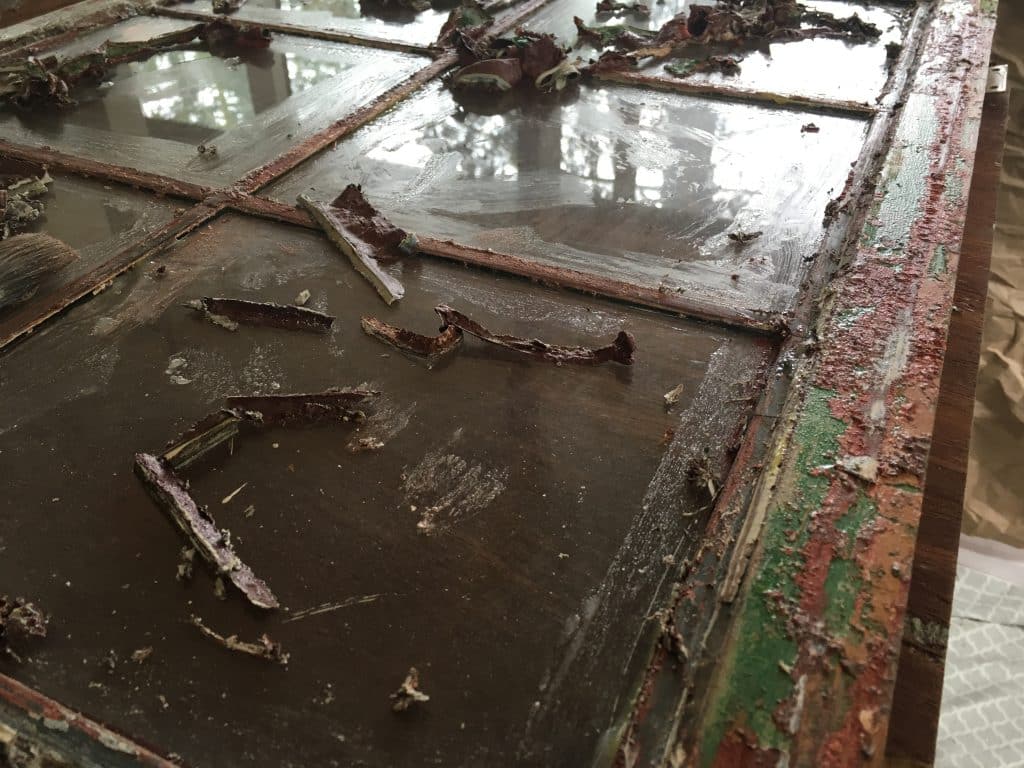
Second application of stripper. Getting there…

After the application of stripper and cleanup with after-wash. Not bad!
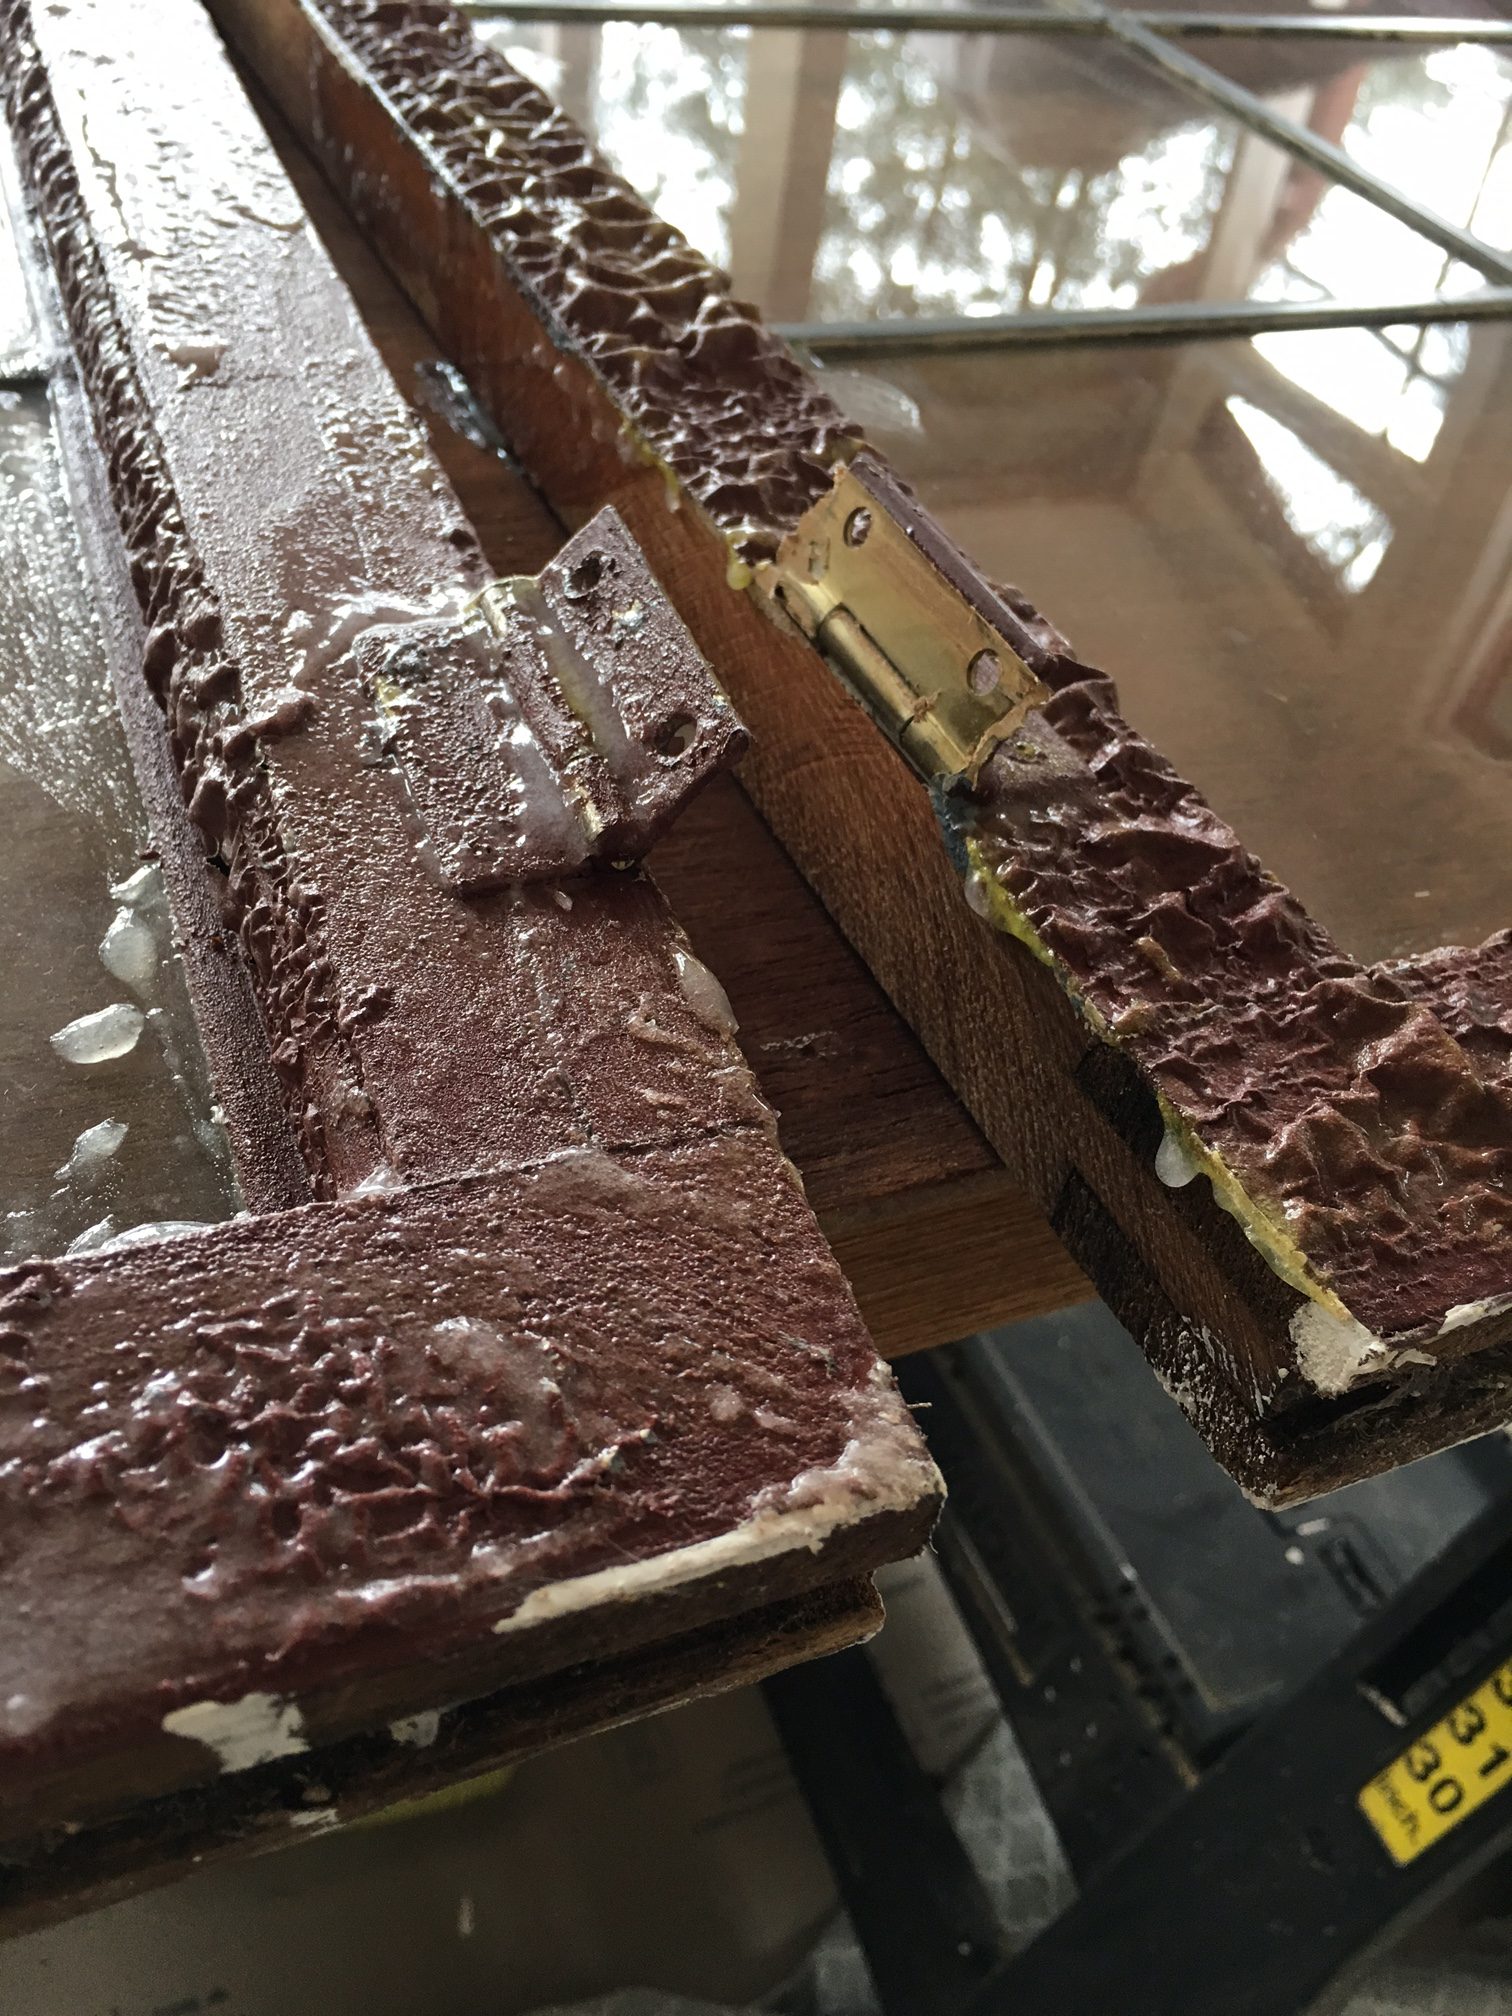
Exterior
Exterior time. I have never really loved the red trim on our house, but this shows me it could have been much worse. Like grass green!
This is when I googled “reglazing lead windows”
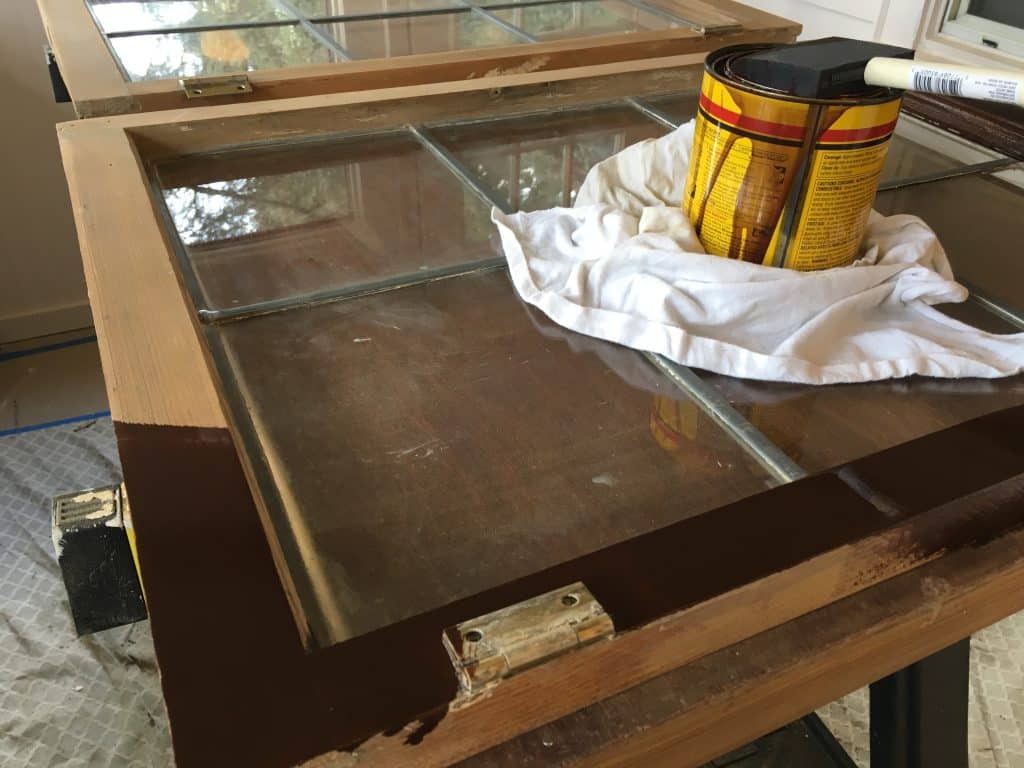
Both sides of the windows are now sanded and wiped clean. Starting in on staining the inside. I used Minwax English Chestnut.
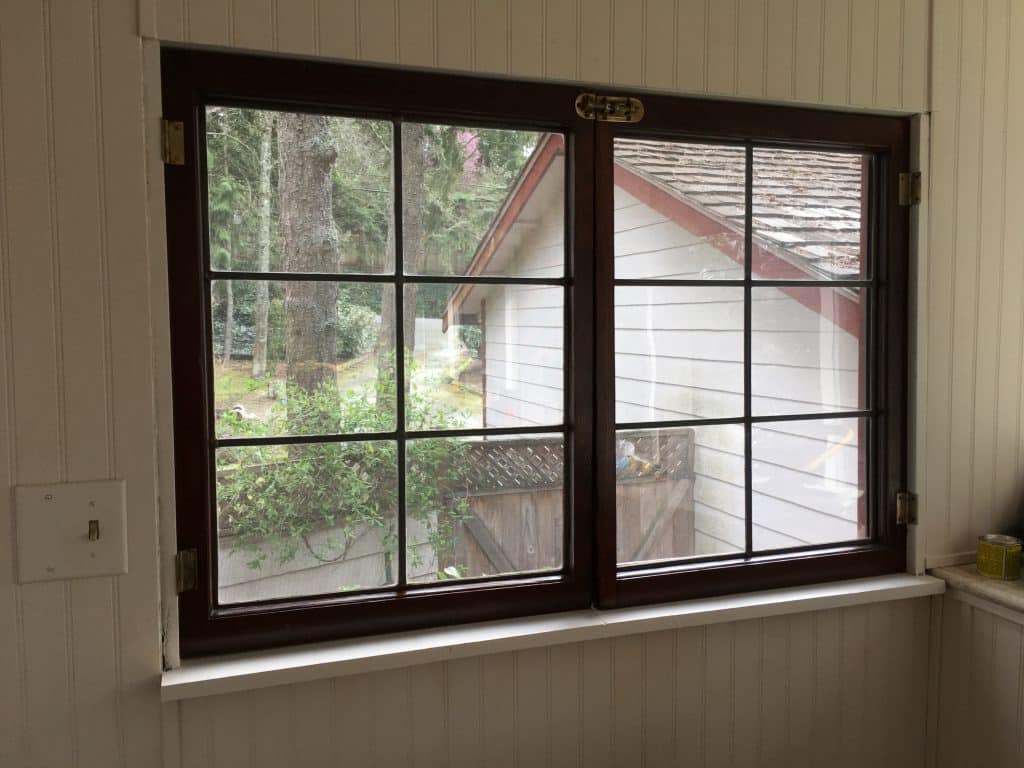
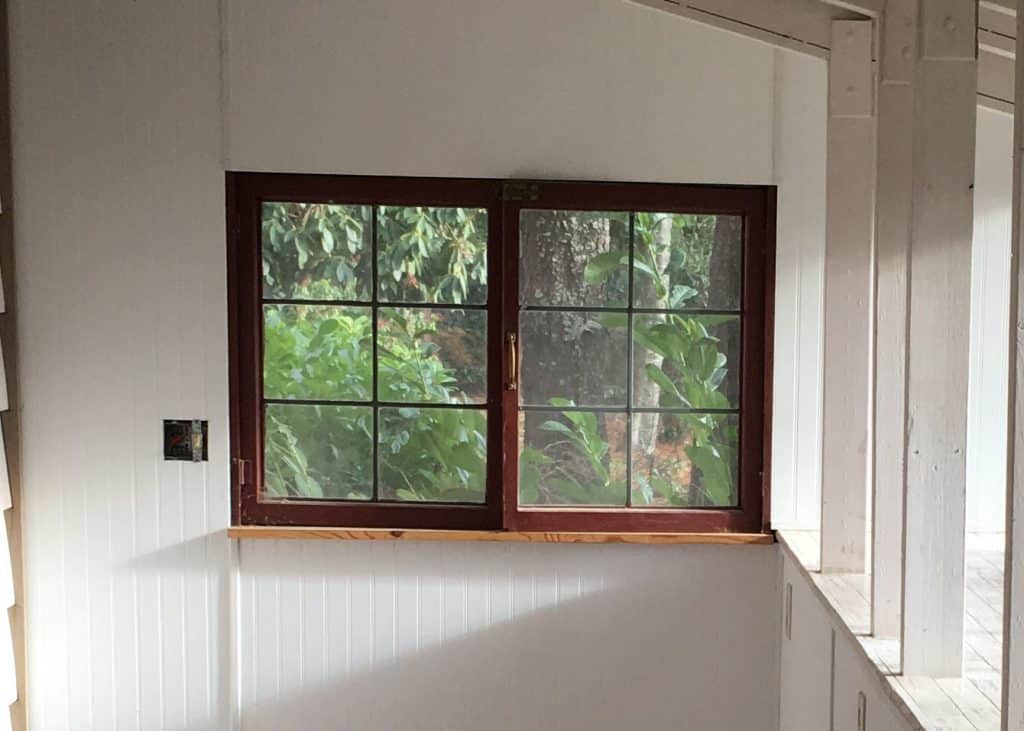
Finished and reinstalled! This photo is a bit dark, but I’m pretty happy with the way it turned out. The only thing I might have changed is the use of Spar Marine Varnish, which is still a bit soft despite curing for 2 weeks. I’m not sure if that’s due to the cold temps or if it’s just the nature of the finish. If I had to do it again I’d try Spar Urethane which I’ve used before.
Stripping Materials
- Jasco Paint & Epoxy Remover
- Klean-strip After Wash
- Wire brush (toothbrush type)
- Plastic paint scraper
- 1 inch brush on its last leg for spreading the stripper
- #00 Steel wool (use only for non-water-based stain projects, otherwise use sandpaper)
- Lots of rags
- Legit Respirator (dust mask won’t do here, esp. for the after wash)
Staining Materials
- Minwax English Chestnut stain
- Old Masters clear spar urethane
- 2 inch foam brush for stain
- 1 inch brush
- 220-grit sandpaper
- rags
Finishing Materials
- Old Masters Spar Urethane, Semigloss
- 1 inch sash brush (natural bristle is ideal)
- Old Masters Spar Marine Varnish (or Polyurethane or Spar Urethane)
Other stuff
- Sawhorses and plywood for table
- Drop cloths
- Disposable plastic paint bins to slop the scraped stripper into
- Orbital sander (elbow grease will work if you can hack it and have time) with 180 and 220 grit pads
0 Comments